

Replacing a Coat Lining
I’ve been meaning to write about replacing a coat lining for months–I’m either very late, or very early!
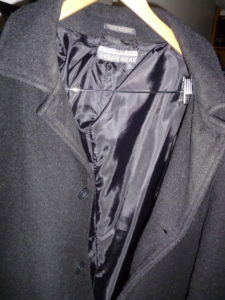
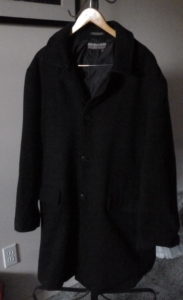
J has a now-vintage winter coat from Structure (the former men’s line from Compagnie Internationale Express) that has held up to much abuse over the years. The lining finally gave out though (and was hanging from the hem in tatters not unlike a tail!), but J didn’t want to give up on it.
You’ll find many vintage coats at thrift stores and estate sales have this same issue–the lining tends to be the least durable part of the coat’s construction. Thankfully, though, replacing a lining is something you can do fairly easily and inexpensively.
Supplies needed:
- Fabric: For this project, I bought some nice cling-free poly lining from the late Hancock Fabrics. I bought 3 yards just to have some left over. You can use many different fabrics for linings–silk, polyester, even quilting cottons! It can be so fun to add a funky patterned lining to a classic trench or peacoat. The sky is the limit!
- Thread: Go for good quality, since coats take strain at the seams.
- Needles: With thick fabrics like wool, make sure you have the appropriate size needles for your machine–they can get dull quickly. There will also be some hand-sewing to finish, so make sure you have a needle for that too!
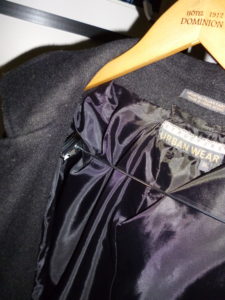
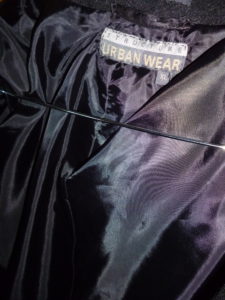
The black fabrics didn’t photograph terribly well, and I always forget to take in-progress photos, so I can just briefly explain the process:
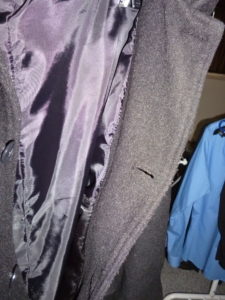
- Take a seam ripper and carefully remove HALF of the lining. Go ahead and cut it away from the half you are leaving intact.
- The half you cut out will become your pattern for the new lining. Just cut on the fold for the main interior piece, cut two sleeves, etc., until you have all the pieces.
- The half of the fabric you left in will show you how to re-construct the garment. Assemble the sleeve, and then start sewing the lining into the coat. Work around until you hit the sections of the old lining that you left in, and begin to remove them and sew in the new lining.
- Finish off the bottom corners by hand.
You must be logged in to post a comment.